Types of Net Borders
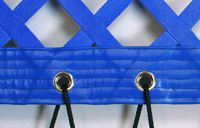
Grommet

Web Loops
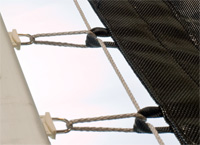
Web Tabs
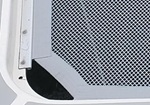
Bolt Rope
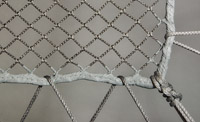
DyneemaCore Rope
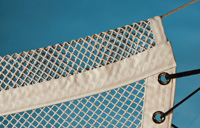
Cable Sleeves
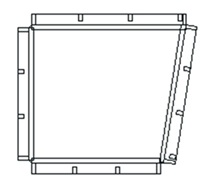
Pipe Sleeves
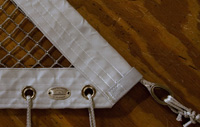
Internal Tension Line
Net borders hold the netting to the lacing and/or the supporting structure and are critical to
firmness, fit, and durability of the net. The borders of a properly made net need to distribute
the loads evenly, allow the net to be tensioned fully, and hold up to the abuse a net will receive
in marine service. All of our nets are created with this in mind.
Each Border Type has its own requirements depending on the Netting Material used. Some of the common Border
Materials we use include;
- Dacron Reinforcement, a heavy 12oz, adds stiffness and strength is always covered, never
exposed to UV light
- 18oz Vinyl Coated Truck Cover Fabric, used as the exposed covering for many borders.
- PTFE (e.g. Teflon©) stitching, which is completely unaffected by UV exposure, is used
on all exposed surfaces of our Multihull Nets and is an option on Beach Cat Trampolines.
Borders can be divided into two groups, Tensioning borders that allow the net to be pulled tight
and Non-Tensioning borders that hold the net to a fixed structure like a track or a cable. The
number and arrangement of Non-Tensioning sides on a net is limited and depends on the
type and configuration of the netting.
Almost all nets can be made with 1 Non-Tensioning side. Nets with a square configuration, where the
fibers run parallel and perpendicular to the borders, can be made with 2 adjacent Non-Tensioning
sides. Nets with a diamond configuration, where the fibers run diagonally to the borders, can be made
with 2 opposite Non-Tensioning sides. With nets that are more elastic and require more stretching to
reach their fully tensioned size, no more than 1 Non-Tensioning side should be used. The use of 3
Non-Tensioning sides should be limited to smaller Polypropylene Mesh nets, where the boltropes can be
made to stretch with the Bias Cut (diagonally oriented) mesh.
Tensioning Border Types
Grommet Borders
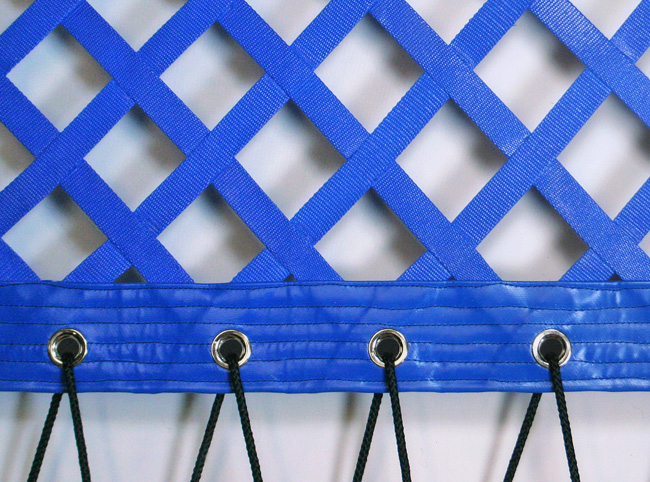
1" Webbing Net, Vinyl Coated, with 2" Average Holes
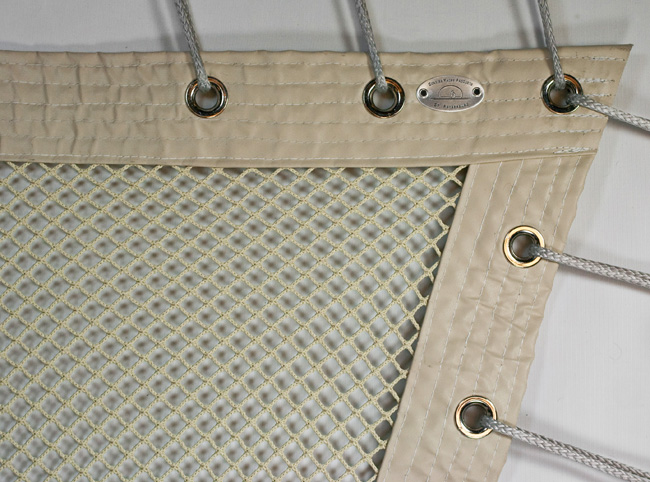
Offshore 3/8" Polyester Open Net
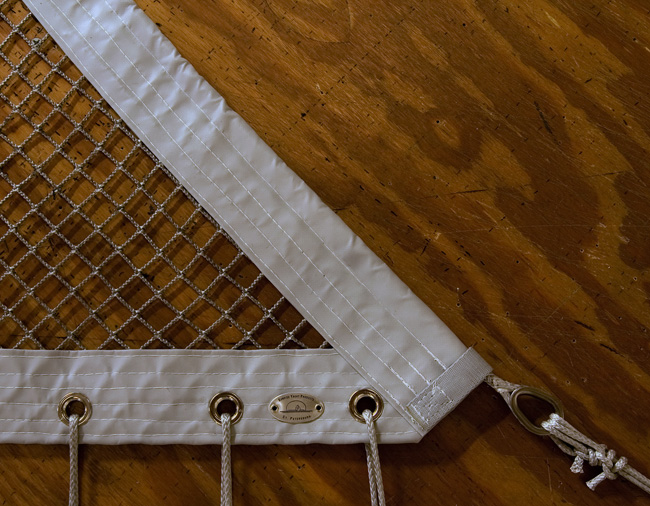
Grommets are heavy eyelets set in holes punched at intervals along the border.
These are the most commonly used tensioning border and can be applied to all of our netting materials,
except the 2” 3Ply Webbing Nets, and to just about any shape. Grommets should be spaced at 4" (100mm) to 6" (150mm)
apart and are tensioned by lacing, in a varity of patterns, to the supporting structure.
The most important attribute for durability with this method is the strength and stiffness of the border.
Our Grommet Borders are reinforced with up to 3 layers (depending on the size and strength of the net) of heavy
Dacron for stiffness and Webbing for lateral strength. The border is covered with vinyl coated fabric, which hides structural
stitching underneath. All of the exposed Stitching is done in a PTFE thread. We use Nickle Plated brass grommets with spur
washers for better strength.
We compensate for netting elasticity when designing the nets. The netting is undercut and prestretched
when attached to a non-elastic border so that the border does not restrict the netting from reaching
its fully tensioned shape. This works well with Grommet Borders as the border can wrinkle when untensioned
and pull out flat as the net reaches its fully tensioned shape.
In almost all cases the nickle brass grommets will hold up well
and last the life of the net. Stronger and more durable Stainless Steel Grommets are available however at a significant
increase in cost.
Pipe Sleeves
These are sleeves sewn onto the edge of the netting that take rigid rods or tubes. The nets are laced, through cutouts
in the sleeves, around the rods. Pipe Sleeves work well on low stretch woven materials with straight sides. Because
of the rigidness of the rods, the lacing points can be spaced further apart. They do not work as well on the more elastic
materials and are more difficult to make on curved sides.
With Pipe Sleeves the strength of the border is completly dependent on the stitching. The Pipe Sleeves that we make on nets
are all stitched with at least 4 rows of heavy stiching which is then covered and stitched with additional rows of PTFE thread.
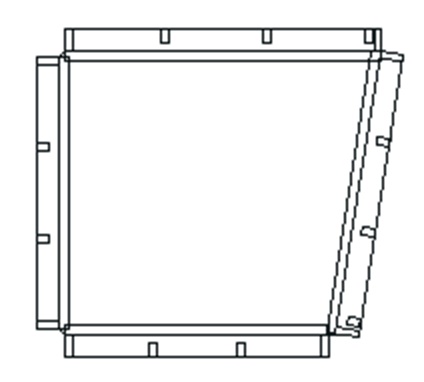
PDQ 36 Diagram
Webbing Tabs on Mesh and Open Nets
Webbing strips sewn to the borders in V shaped tabs can be used to lace the net, similar to grommets. With this method
there are no holes cut in the border and the loads are spread out along the webbing strap rather than being concentrated
on one spot. This means the borders can be made lighter than with grommets. This type of border is usually used on higher
performance boats where weight is critical.
Webbing tabs can be more susceptible to chafing damage and UV degradation than grommets. They also extend past the
border and result in a larger lacing gap. For our tabs we use a vinyl coated tubular webbing for better UV resistance
and insert in inner line for added strength. The Tabs are stitched with multiple rows to the reinforcemenet
then covered and sewn in PTFE thread.
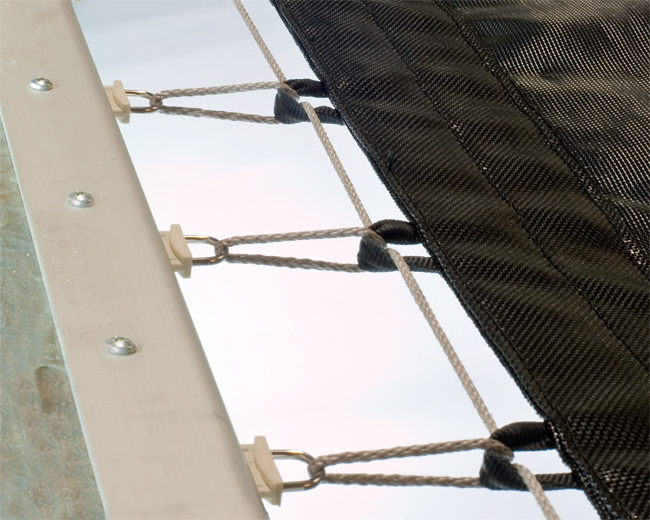
Black Polypropylene Mesh
DyneemaCore Rope Borders
Not to be confused with Boltrope, a DyneemaCore Rope Border is a line attached to the perimeter of the net that is used to
lash or lace the net to the structure. DyneemaCore Rope Borders derive their stiffness from being under tension as opposed
to other border types that get their stiffness from their material strength. This tension is applied by lashing
at the corners of the net, so there should be a strong lacing point near each corner of the supporting structure.
We make our DyneemaCore Rope Borders by weaving the line through the holes in the net and splicing the ends together to form a
closed loop around the entire net. We use a very strong 1/4” (6mm) Dyneema/Spectra line and wrap the rope and cut
netting with a thin polyester webbing. The finished border is sewn with 1 row of heavy PTFE thread and vinyl coated.
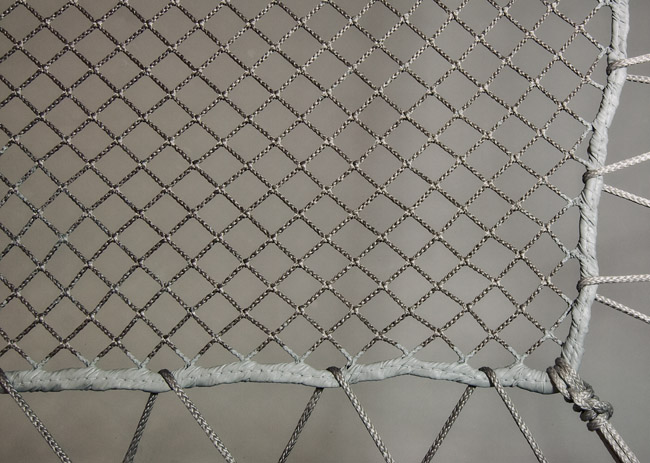
Dyneema 1" Open Net
If the DyneemaCore Rope Border is not tensioned sufficiently from the corners, or the lacing points are too far apart, it will
scallop or curve in between the lacing points. This scalloping puts very uneven stress on the netting and may
lead to premature failure at the lacing points.
If there are strong lacing points on both sides of the corner then
they can be used together, lacing in a V fomation to pull the Net border directly into the corner of the opening. If the
nearest lacing point is too far from the corner to allow this, then the net can be desigend with the corner cut back, creating
2 corners in the net that point to the lacing points closest to the corner of the opening.
Web Loops on Webbing Nets
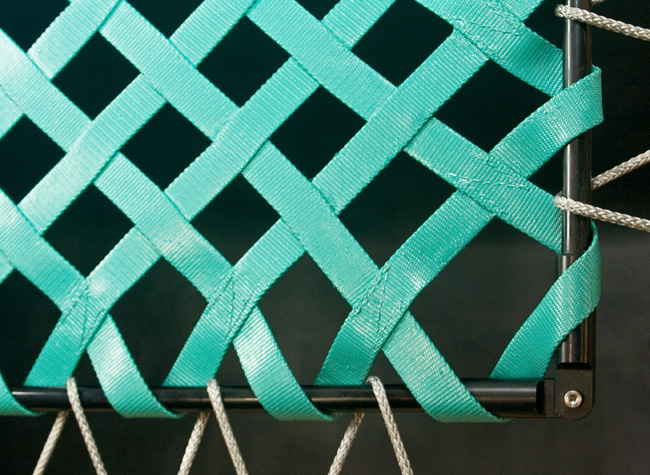
1" Webbing Net Vinyl Coated with 1-1/2" Holes
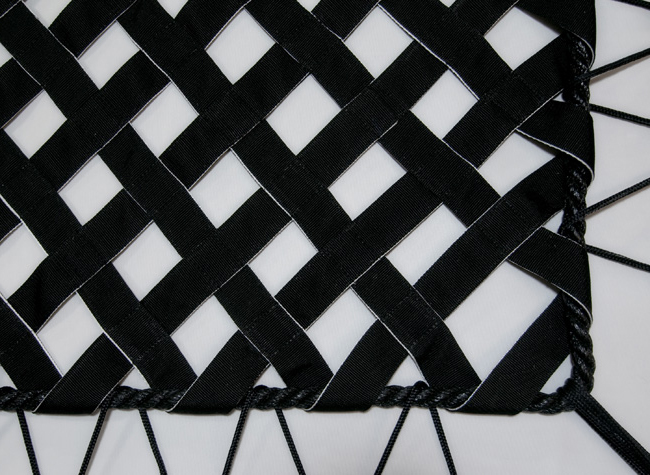
2" 3Ply Webbing Net with 2-1/2" Holes, Uncoated Black Polypropylene
Webbing Nets can be made with the webbing straps folding back at the perimeter of the net, forming a loop that can be used
to lace the net to the boat. These nets can then be attached in 3 different ways;
- laced directly from these loops,
- a rigid rod or tube can be inserted and used for lacging,
- a rope border can be made by inserting a rope through the loops on all sides of the net and spliced together at the ends.
This works well on nets that are closer to rectangular in shape and is one of the strongest attachment methods. As the shape
of the net becomes less rectangular, the variation in hole size within the net increases.
For a rigid rod, we offer 5/8” (16mm) round coated fiberglass battens, and black Delrin end caps that bolt together
at the corners. For Rope Borders, we use a 1/2" Polyester briad on the 1" Webbing Nets and a 7/8" Polyester 3 Strand Line.
Both of thses Rope Borders are spliced end to end and vinyl coated to match the net.
Loop Borders are good on webbing nets where the length of one side is no more than
1.4 times the length of its opposite side, and side curve cord measures are less
than 1/20 of the length. Where the opening shape exceeds these limits, it would be better
to use a sewn reinforced border (like grommets) where the webbing net is cut to size and
the holes can be more consistent. 2" 3Ply Webbing nets are only made with webbing loop borders,
they are too thick for sewn borders.
Using a rod or rope inserted in the border of the net makes it easeir to lace up
and keep the webbing straps aligned. Rigid rods can have a tendency to move or creep
over time on some applications so they should be secured in some maner to prevent this.
Also the rods must be supplied full length which can increase shipping costs on larger
nets. Rope Borders avoid the problems that rigid rods have but will need strong lashing
points in the corners of the opening to tension the rope.
Non-Tensioning Border Types
Boltrope
Boltrope borders are intended to slide into a track. It is critical that the size of the finished boltrope be
matched up to the track correctly for this to work. It is also important that the rope used is a non-compressible
type, many soft braids will flatten out and allow the border to pull out of the track. The track must also be
strong enough to not distort under the stress of the net. Aluminum tracks should have a minimum wall thickness
of .075” (1.9mm), and composite tracks should be at least twice that thick. In order to make the net-boltrope
connection strong enough, the slot or opening in the track should be at least 5/32” (4.0mm).
For our Boltropes we use a Hard Luff Briad made specifically for this purpose to exact diameters. The Luff Braid is
covered and attached to the net with polypropylene mesh and a vinyl coated 18 oz truck cover fabric. This makes a very strong, UV
and chaff resistant border. For high stress locations on larger nets, a hard lacing slide can be attached at
the end of the boltrope with a webbing tab for additional strength.
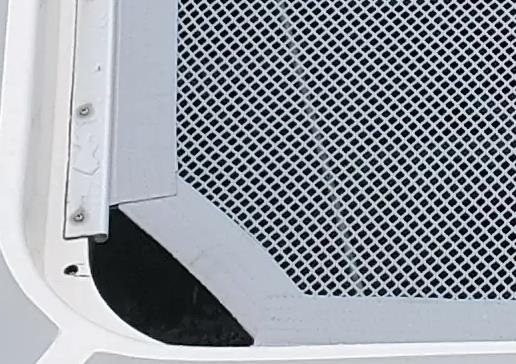
Offshore 3/8" Open Net
Cable Sleeves
Cables will curve when supporting nets so sleeves used to attach the net will also need to be curved. To do this
the sleeve material must be oriented on the bias or with diagonally running fibers.
We try to make our cable sleeves from the same material used in the net if possible, to match the net strength,
with reinforcement at the ends. Stitching that holds the sleeve to the net is covered with UV resistant vinyl
fabric and additional PTFE stitching.
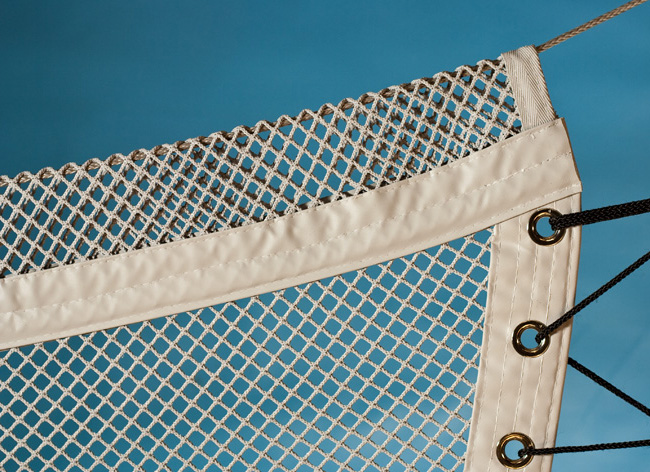
Offshore 3/8" Polyester Open Net
The curve formed when a net is tensioned along a cable or tension line is called a catenary.
Using larger catenary curves on Cable and Tension line supported sides reduces the stress on the
supporting hardware and results in a firmer net, up to a point. We measure the amount of
catenary curve as a ratio of Length to Cord. The absolute minimum ratio will be about 40:1 and will
not offer much of a benefit. A ratio of 20:1 is better for steel cables with turnbuckles, and ratios of
12:1 – 16:1 work better for cables or low stretch lines without turnbuckles. Using curves larger, i.e.
smaller ratios, than 12:1 with support cables or low stretch lines begins to cause other problems and should
only be used on smaller spans with sewn in reinforcemenet in place of tension lines.
Internal Tension Lines
Similar to cable sleeves only without the cable. We supply a 1/4” (6mm) Dyneema line sewn into the border with
eye splices and stainless thimbles at each end for lashing.
Dyneema 1" Open Net