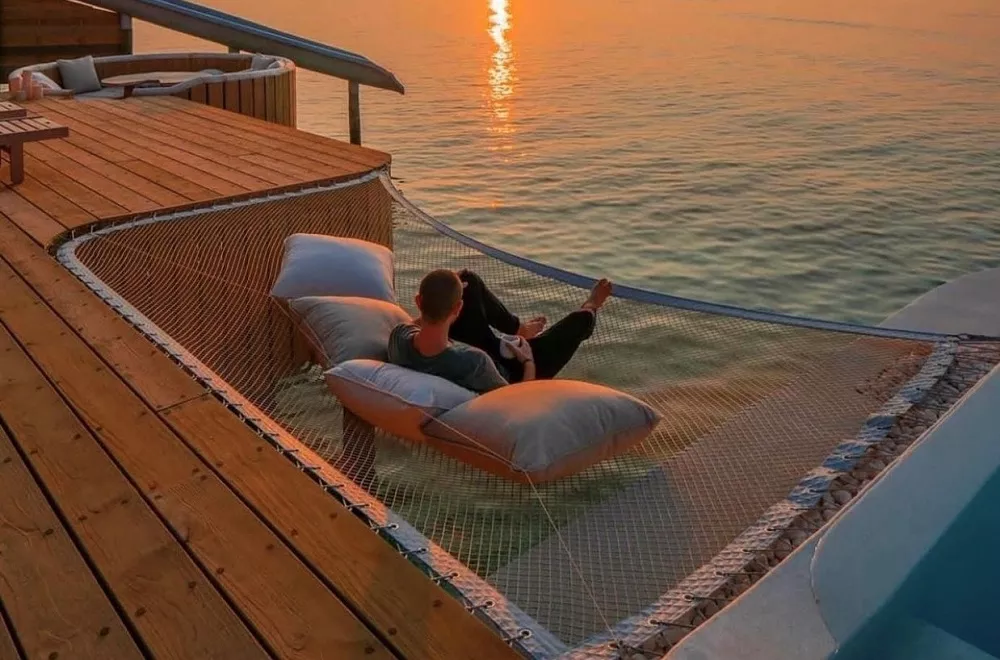
Architectural net designs are gaining popularity for their versatility and aesthetic appeal—whether they’re used
as loft nets for suspended lounge areas, overwater hammocks for cool relaxation spaces over the water, or other
innovative play & design features. At Sunrise Yacht Products, we know that understanding how to frame architectural
nets is just as critical as choosing the right net material. Below, we explain the standard net shapes, common framing
materials, and attachment options to help you plan and execute your architectural net project with confidence.
Standard Shapes For Architectural Nets
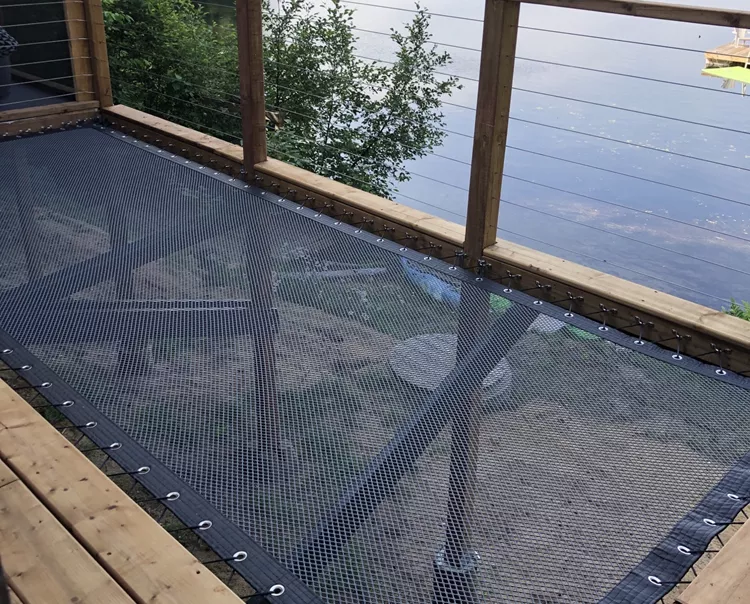
Four-Sided Framed Nets
-
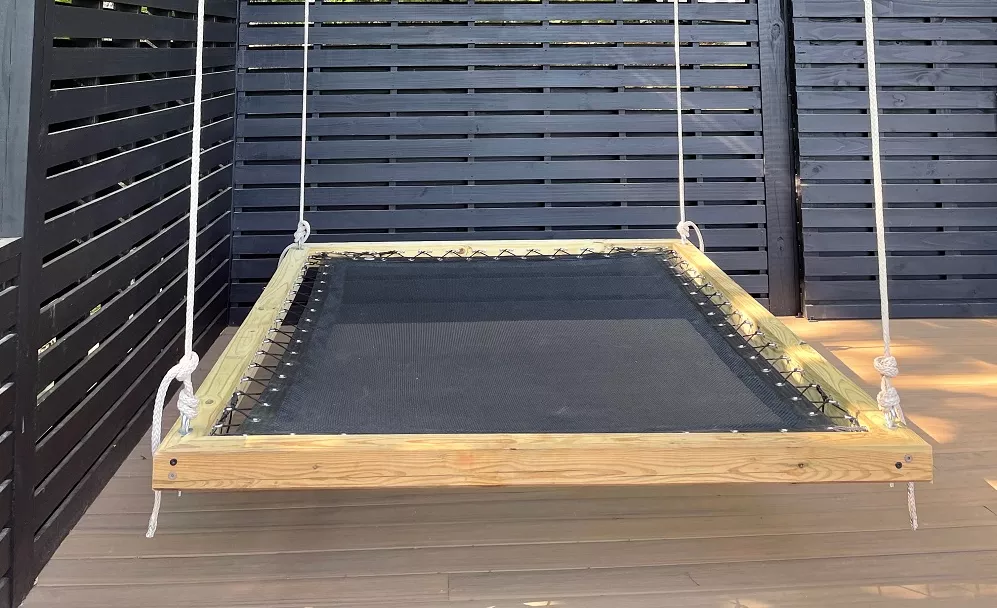
A rectangular or square perimeter is the most common setup, offering a clean, modern look and straightforward
installation. It is also the most cost effective design with regards to cost / usable square footage. It is
also often the easiest to design for.
-
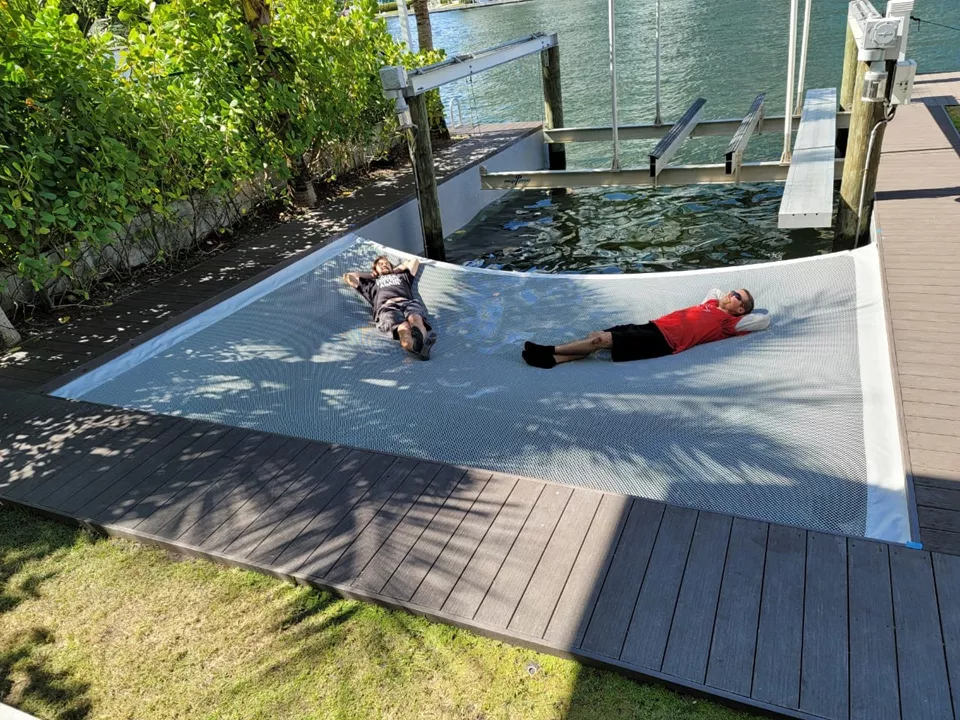
A great option for loft nets, deck hammocks, or large walkable net surfaces.
-
Easily integrated into existing structures—ideal for residential and commercial applications.
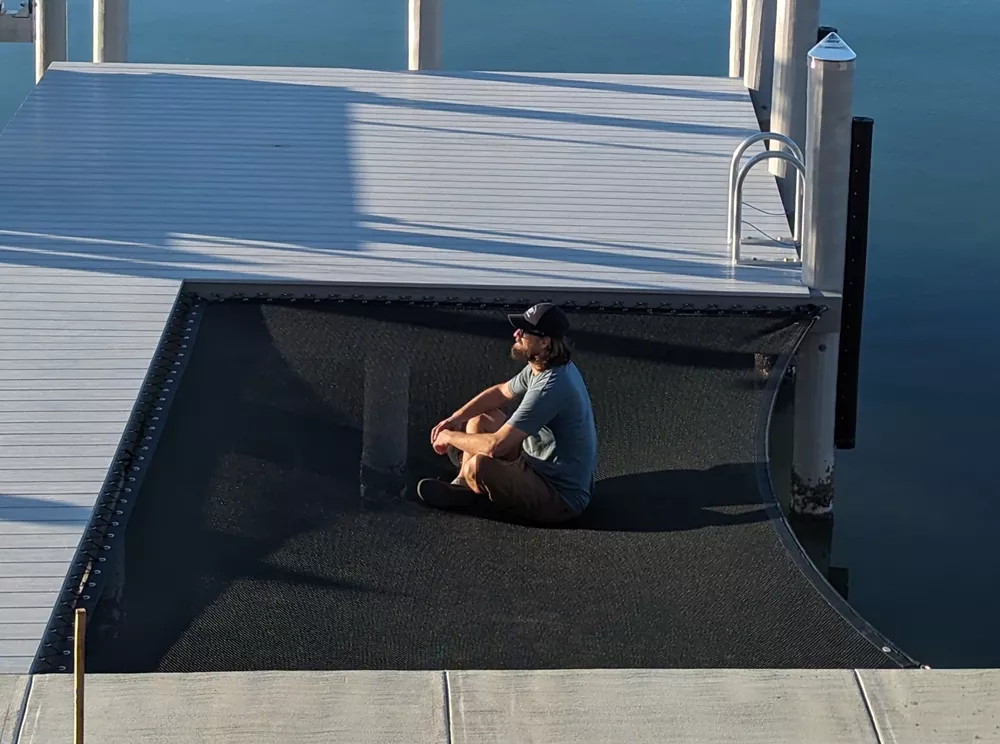
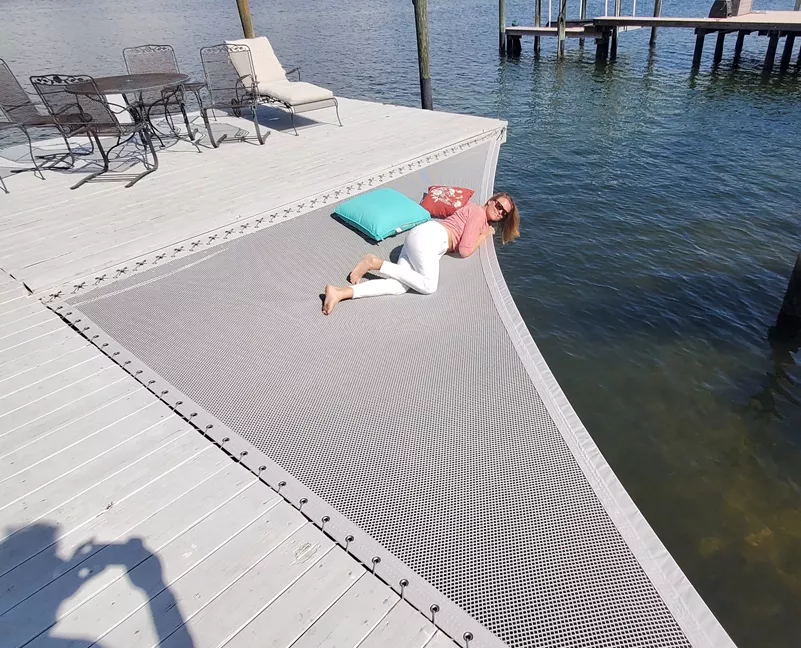
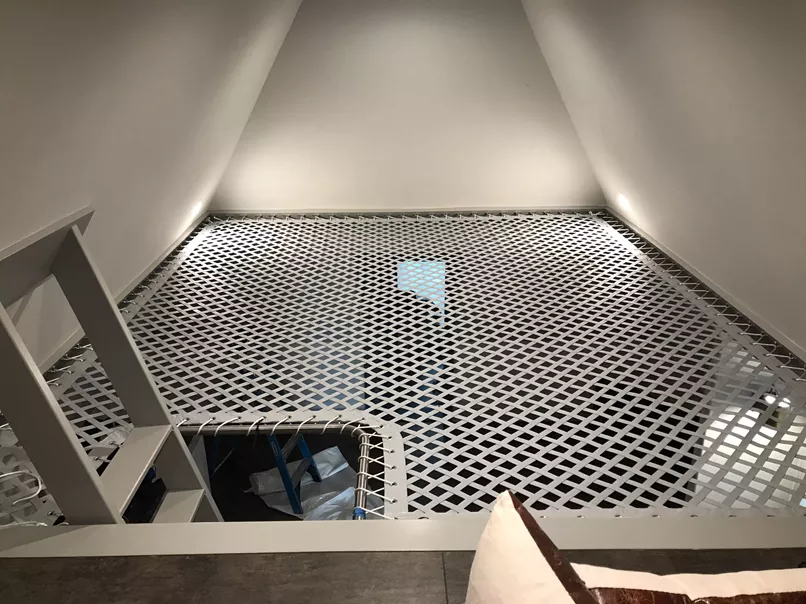
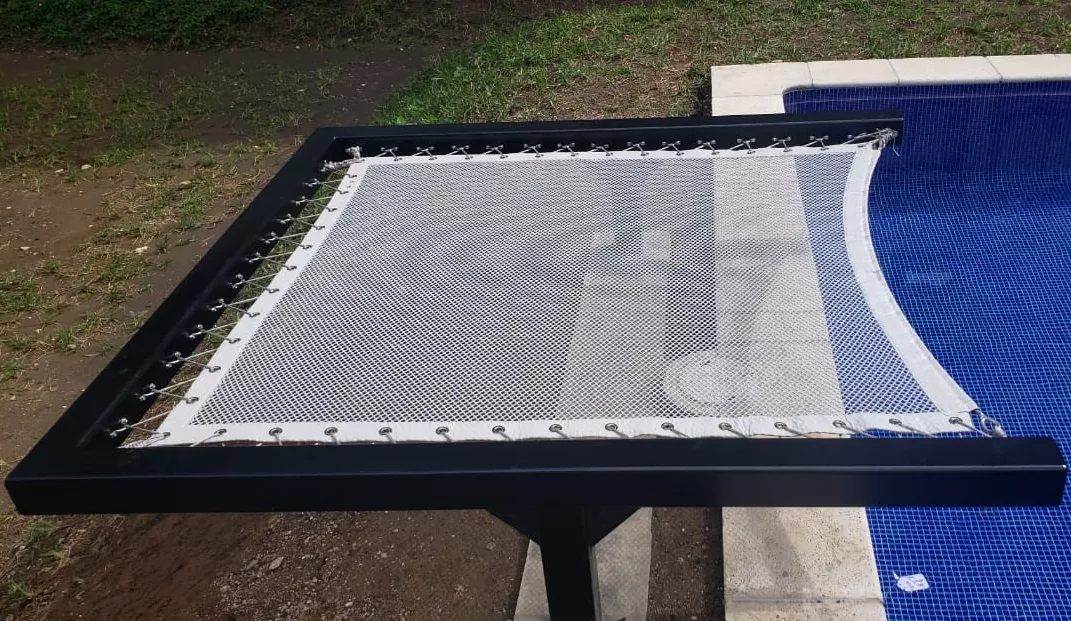
Three-Sided Framing With Internal Tension Line and One Open Side
-
Incorporates three rigid edges and one open side supported by a tension line or rope.
-
Perfect for contemporary spaces that want a minimalistic or floating look.
-
Typically used for balcony nets or open-air lounge nets in architectural designs.
-
When designing these be sure to select a sufficiently stiff arm beam to resist the inward pull of the tension line.
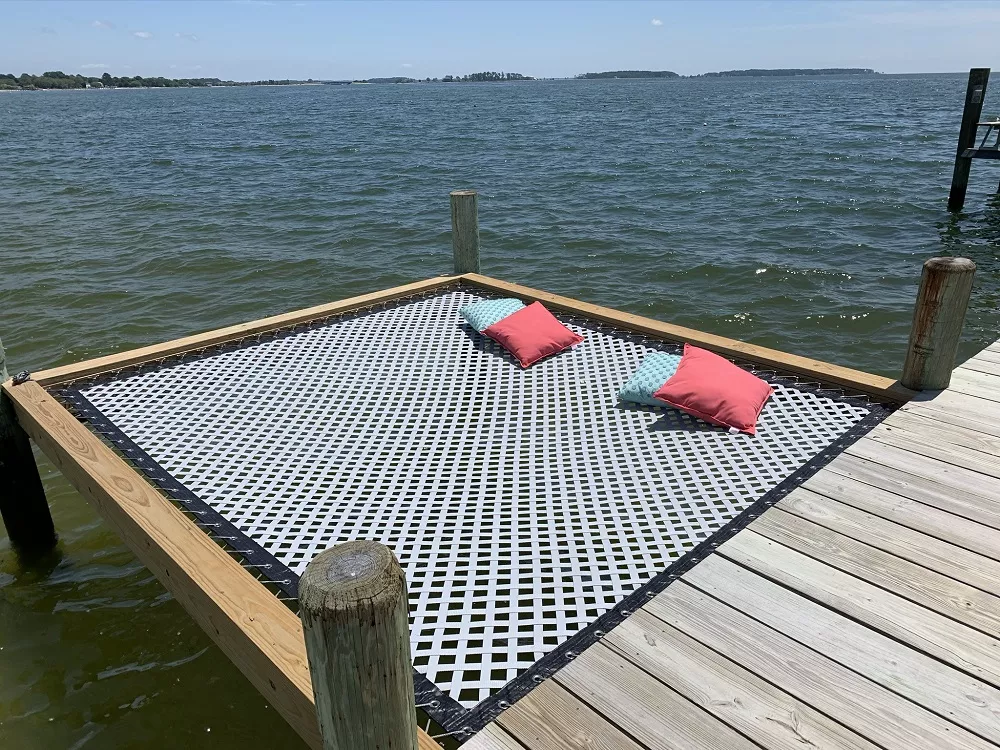
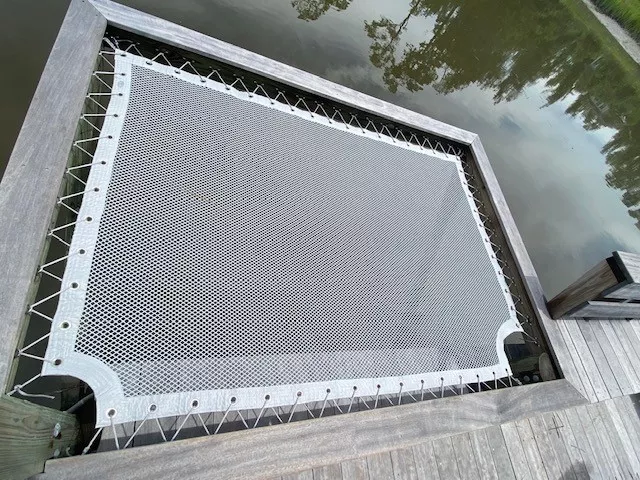
Triangular Net With Internal Tension Line on One Side
-
A triangle net is a striking geometric choice, allowing for creative floor plans or corner installations.
-
In many cases these are the best option if you wan to add a net to an existing dock as it needs no additional framing.
-
You must make sure the dock structure is quite sturdy though as the tension line will have a great deal of force pulling the dock structure together.
-
Tension lines ensure load distribution while maintaining the net’s unique shape.
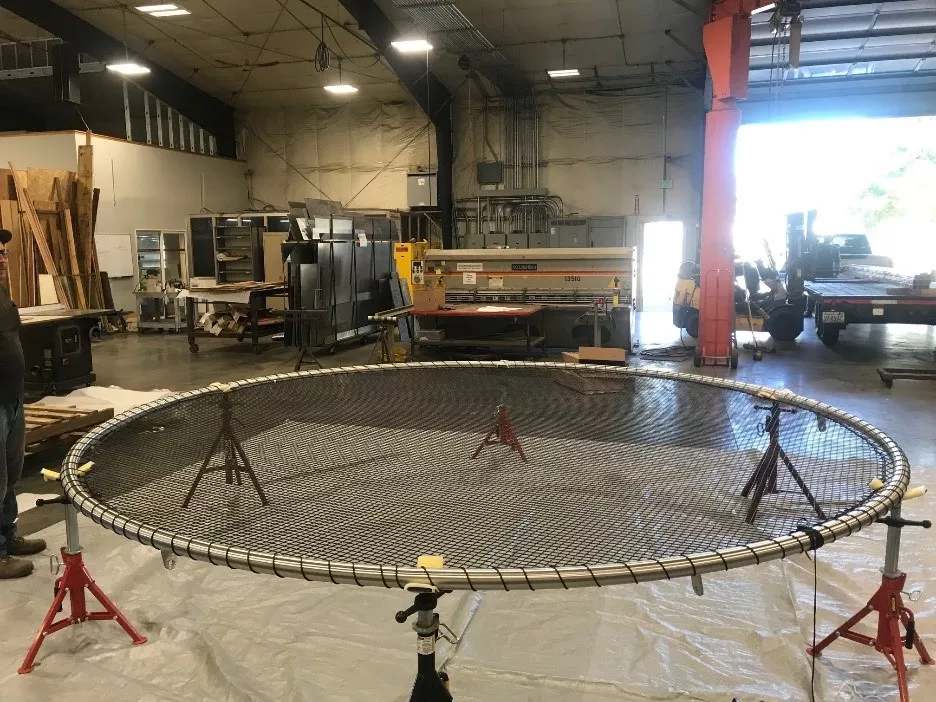
Circular Net
-
A circular net is a bit more challenging to frame, but can be a really unique architectural element.
-
Great for unique looks and exciting spaces.
-
Typically requires a tubular metal frame.
-
Consider this as a custom element that you can suspend from a tree or the ceiling.
Unique design elements for inside edges of dock nets & loft nets
With your major shape design finalized there are internal edge design elements to be aware of. These are
sometimes needed to clear dock pilings or internal posts, to add ladder access to a lofted net, or to
enhance the design by adding interesting visual elements to a net design.
Radiused Corners can soften a corner & make it look more organic.
Ladder openings can be designed in to make the ultimate kids play loft.
Corner or side cutouts can be added to clear pilings.
Selecting Your Framing Material
When it comes to architectural net framing, choosing the right material is crucial for structural integrity and design coherence.
There are a wide variety of methods & materials that you can work with for your net framing. There are 7 main characteristics to
consider when choosing your framing.
Durability How long will it hold up under the expected conditions (weather, etc)
Aesthetics Will the aesthetics match the overall look your project is working towards.
Ease of Use How difficult will the material be to work with.
Strength Will the material support the required design loads.
Stiffness Will the material resist bending when the net is under tension
(this is somewhat different than strength as many materials will be able to hold the net tension
but will bend too much when doing so if not designed properly.
Attachment Points Once your frame is in place, you will need quite a
few attachment points on the frame and different materials accept different attachment point options.
Cost Budget must be maintained 🙂
Wood Framing
Warm, natural aesthetic—ideal for residential settings or treehouse projects and a natural choice for many dock projects.
Wood is easy to work with & easy to design for from a netting perspective.
Durability When the proper wood with the proper treatment is selected it can be quite durable.
Aesthetics Wood can work well in many design themes.
Ease of Use Wood is generally one of the easiest materials to work with.
Strength Wood can easily be strong enough when the frame is properly designed for wood.
Stiffness Wood is not an extremely stiff material. This means that while it can support
a load over a long span it will often deflect when doing so and design of the frame for wood becomes quite important
when spanning free gaps of over 3’. (see: Designing your frame).
Attachment Points We typically recommend & use eyestraps & padeyes that screw/bolt to
the wood frame making for an easy to setup & install system of attachment points with wood.
Cost Wood is generally the most cost friendly framing option.

Steel Framing
Steel framing is often selected for larger projects or industrial or commercial projects. Steel is easy to design for very high
loads making it great for these projects so long as you keep the limitations in mind. Unless you are very skilled you will likely
have a contractor or design / fabrication company build a steel frame for you.
Durability Steel will almost certainly require protection from the
environment in the form of painting, powdercoating, or galvanizing. Typically best avoided around saltwater.
Aesthetics Can be designed to work with almost any aesthetic.
Ease of Use Steel requires more specialized skills to work with but
there are many fabricators & welders available.
Strength Unbeatable, if the environment allows it steel is a great option due to its strength.
Stiffness Excellent / unbeatable. Steel will not be beat by any other materials
for resisting bending / deflection.
Attachment Points Where you can just drill a screw into wood to mount attachments
on a wood frame, steel requires more work but has quite a few options. You can weld individual eyes (or chainlinks)
to the inside edge, weld chain along the full inside perimeter for endless lacing points, weld a small (3/4” OD)
tube or bar that stands about ¾” off the inside edge of the frame, or drill/tap to mount threaded shoulder eyes
or eyestraps to the inside edge of the frame.
Cost Steel as a material is relatively inexpensive, but will be rather expensive
after all labor & coating is completed.
Stainless Steel Framing
Stainless Steel can be considered very much the same as steel with the following exceptions.
Durability Stainless Steel is a great option around saltwater so long as the correct grade
is selected & the person working with it is familiar with how to work with stainless steel & how to maintain its corrosion
resistant properties.
Aesthetics Can be quite attractive & will not require a coating so bare look can be kept.
Attachment Points Same as steel except that will be more difficult to drill / tap in most
cases.
Cost Material is typically quite a bit more expensive than steel.
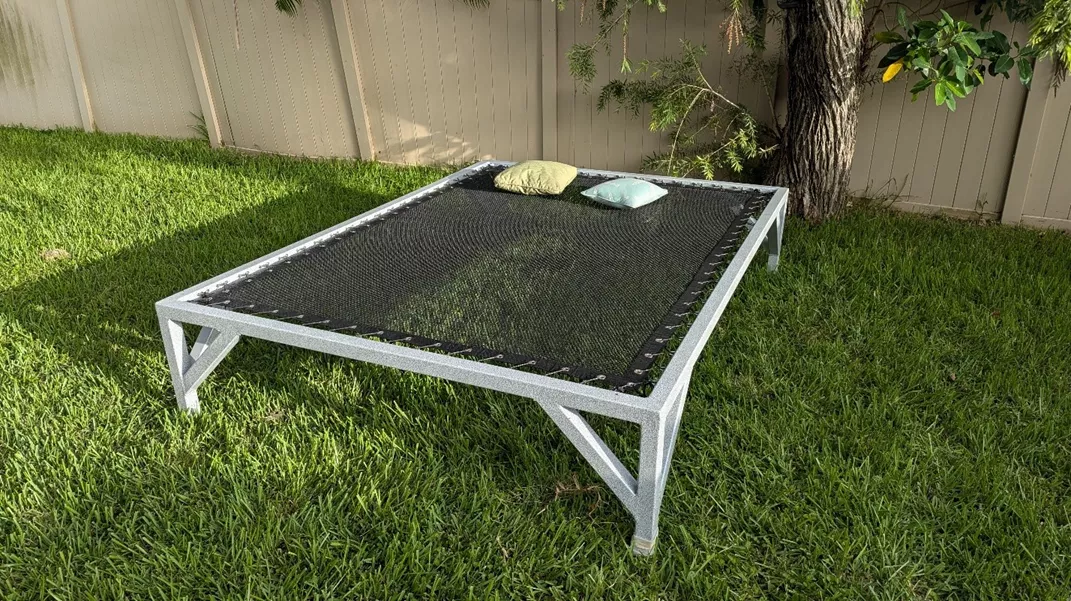
Aluminum Framing
Aluminum is an excellent option for bridging strength & stiffness requirements between wood & steel. It can be worked with
(cut / drilled / tapped) with woodworking tools but does require welding. Its light weight is a notable benefit over steel.
Durability Aluminum naturally protects itself from corrosion by forming a skin of
aluminum oxide on its surface so does not require coating. Be sure to select marine grades of aluminum if using
it around saltwater.
Aesthetics Can be left bare or powercoated for a great look.
Ease of Use More difficult to work with than wood, requires specialized welding skills.
Strength Not as strong as steel, but strong & can be designed to work for a wide variety of applications.
Stiffness Moderately stiff, be sure to design the frame properly to use aluminum to its strengths
by using rectangular or square tubing in most cases. Recommend selecting this with a slight outside corner radius for maximum comfort.
Attachment Points Aluminum can be pre-drilled for eyestraps using a locating jig
(we can supply if needed) then eyestraps can be mounted using self-tapping screws. Alternatively, individual eyes
or half-loops can be welded on for each attachment point although this will typically take more labor.
Cost Typically a little less expensive than steel to work with. We find it the best
option for building our standalone line of
daybeds.
Concrete Framing
Concrete is typically used on larger commercial projects or as an existing seawall that will form the side of a project.
It is an excellent material to mount to as it is incredibly stable but does take a little more work to install attachment points on.
Durability Excellent durability, there’s a reason seawalls are made with it!
Aesthetics A rather austere look, but a net can look great against it and help break up the blockiness.
Ease of Use You will likely be either using an existing concrete structure or highly skilled contractors
to install, not a DIY project in most cases!
Strength Excellent. Enough said.
Stiffness See above.
Attachment Points We recommend (and supply) a system of attachment points of Stainless Steel.
You will pre-drill a hole of the correct size for the hardware then inject with epoxy & insert the Stainless Eye. It takes
a bit to get used to but isn’t very difficult and the anchors can hold a great deal of force…larger eyes can hold well tons
(literally) of force.
Cost If you are installing it will be expensive. If you are using and existing seawall there
is no additional cost. 😊
Designing The Frame For Your Architectural Net
While we are mechanical engineers here, this isn’t an engineering training course and complex framing design should be left to your
certified engineer. That said we do try to give you a lot of visual ideas of projects that have worked before
(see all the pictures on our site!)
and can give a few pointers to keep in mind for your DIY / Home projects or general design concepts the interior
designers reading this.
|

|
Creating A Stiff Frame For Your Net
The most common issue we see when installing architectural nets are frameworks that are not designed to be stiff enough.
The net (& tension line) will pull inwards with a fair amount of force that will probably exceed your initial estimates.
A good estimate is an average of ~100lbs / linear foot of frame with localized loads up to double that. What does this
mean for you? Be sure your frame is stiff enough so it doesn’t move. If you have any questions let your engineer help
or give our engineers an email or call so we can give you a hand. Much better to create an overly stiff frame than to
find out it flexes more than you like.
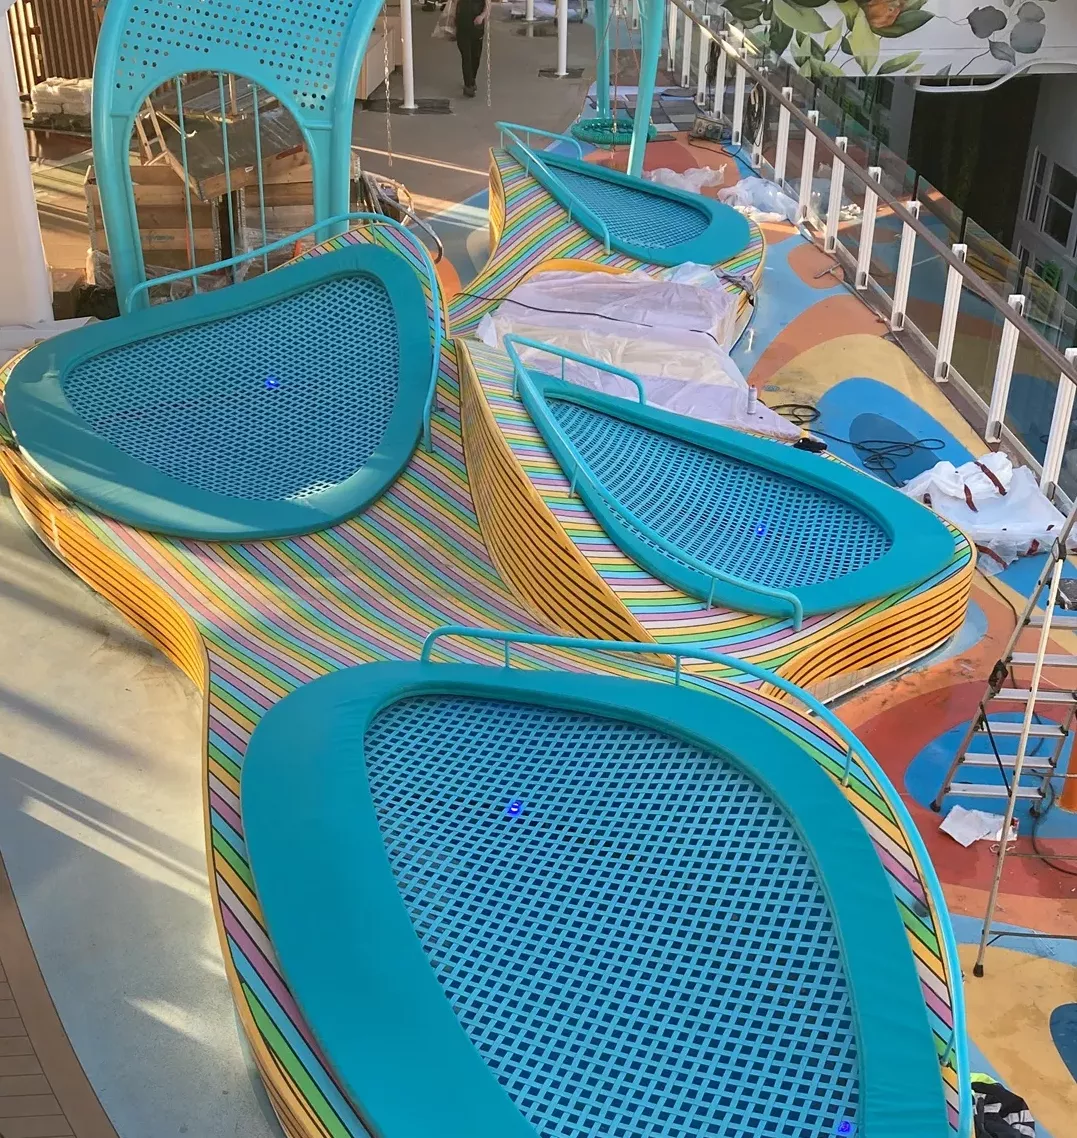
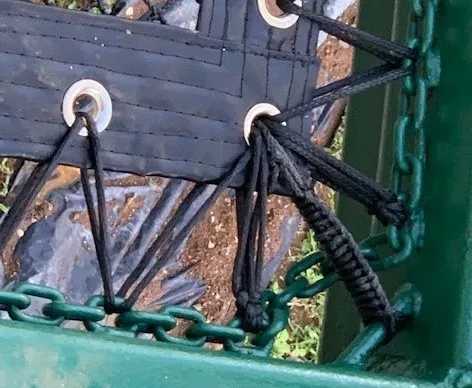
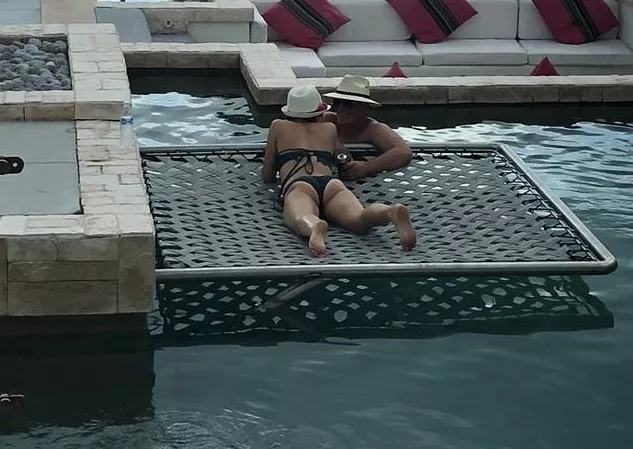
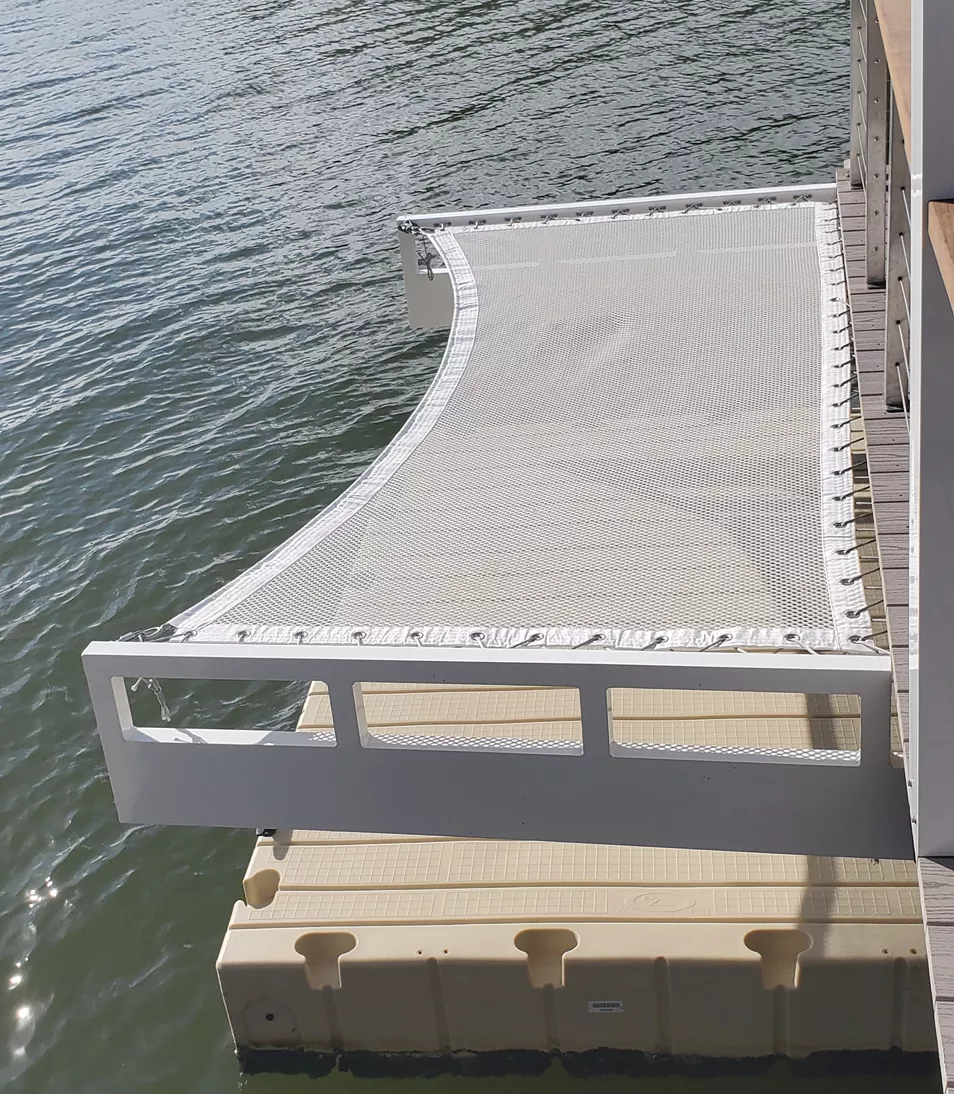
If you’re not an engineer, there are two major points to keep in mind. The first is that a cantilever beam (one not
supported on both ends) will flex with the square of the length. What does this mean? It will flex a LOT more for a little
increase in length. A good example is the picture below, this has an aluminum frame and looks great but the arms flexed
inwards a little more than ideal. If they had run the design concept by use first we could have helped optimize the design
for stiffness and it would have been a little more enjoyable to use. (we would have recommended aluminum tubing at least
twice as wide for this particular design).
The second point is that as you span larger distances between supports (most often seen when running beams between dock
pilings) the board will bend a LOT more with a little increase in the span (deflection increases with roughly the square
of the span). What does this mean for you? First, try not to span large distances with a board if possible. If not possible,
design to account for this. Some good rules of thumb are below for thinking about sizing beams for free spans.
|
Free Span |
| Material |
1-2 feet |
2-5 feet |
4-6 feet |
7-9 feet |
9-11 feet |
| Wood (w x h) |
2" x 6" |
3" x 6" |
4" x 6" |
5" x 10" |
8" x 10" |
| Aluminum Square Tube |
1.5" x .175" |
2" x .25" |
2.5" x .25" |
3.5" x .25" |
5" x .25" |
| Steel Square Tube |
1" x .2" |
1.5" x .175" |
2.25" x .25" |
3" x .25" |
4" x .375" |
| Steel Round Tube |
1" x .2" |
1.5" x .175" |
2.25" x .25" |
3" x .25" |
4" x .375" |
A design point is to consider a cap board / overlap. This can help in two ways, first by stiffening the overall structure if the cap
board is structural. Second, it helps create a small reveal to partially hide the lacing line / hardware. Consider overlapping about 1-1/2”
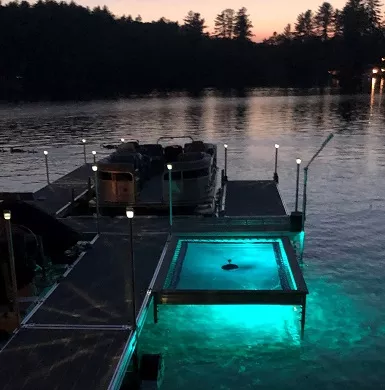
for the best look and then you may find it a lot of fun to run an LED light strip under the reveal to create a really sharp glow around your
net at night!
Most DIY builders can design a good framework with these guidelines, but if you have any questions our netting engineer design team is glad
to offer some input/pointers as we’ve seen a LOT of different options now and we’re standing by glad to help.
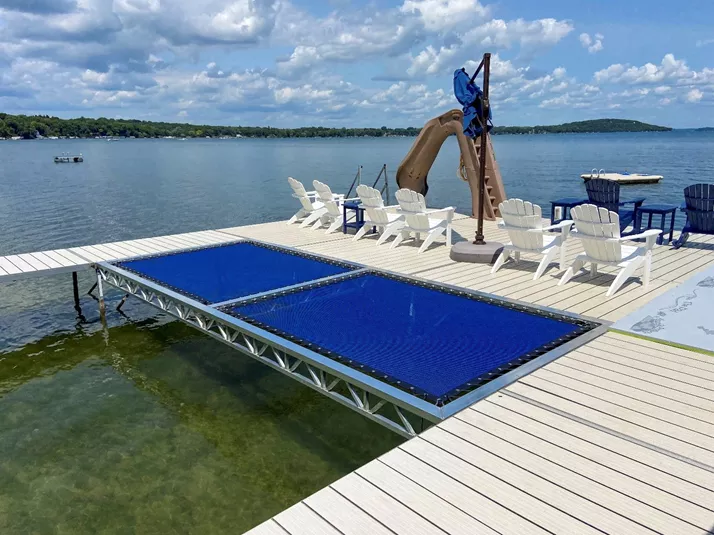
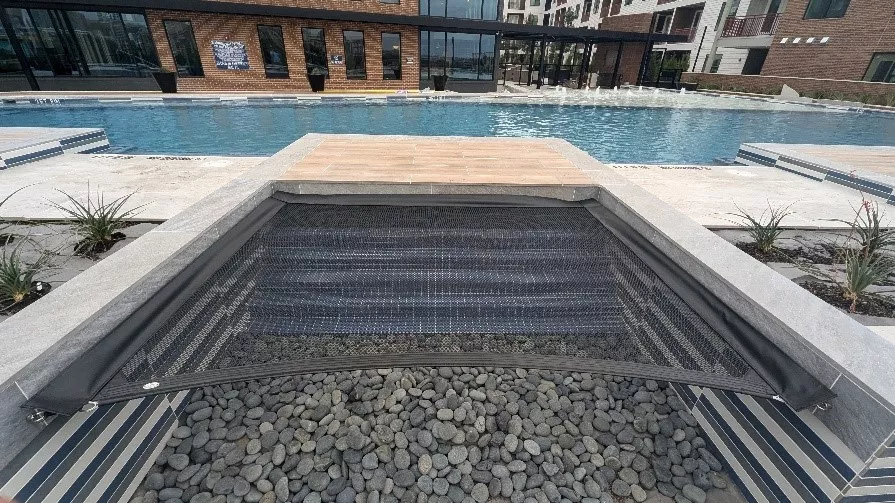
An interesting but more complex design element that can be considered is to fully hide the lacing line & hardware. This works best with
a DyneemaCore perimeter & requires at least a 4” overhang. This is a more advanced design & if you are trying to achieve that you should
let us know before you order so our design team can help ensure you get the look you want as tolerances can be tighter to properly implement
this.
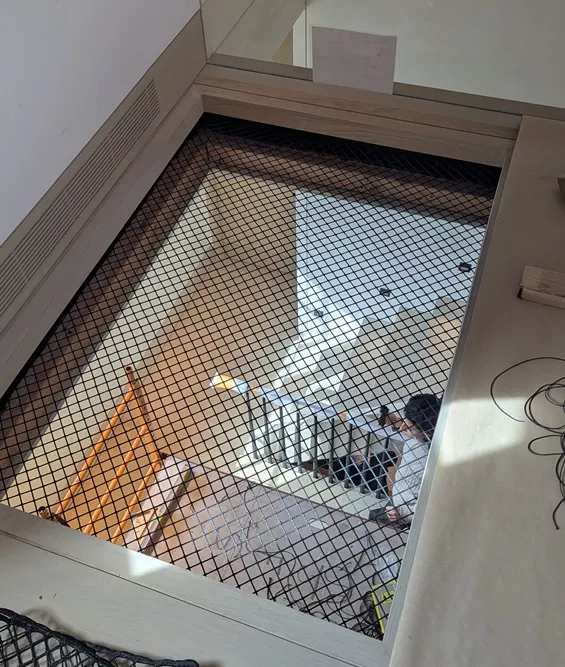
Note that no lacing line or hardware is visible on this net, it appears to emerge from the recess seamlessly.
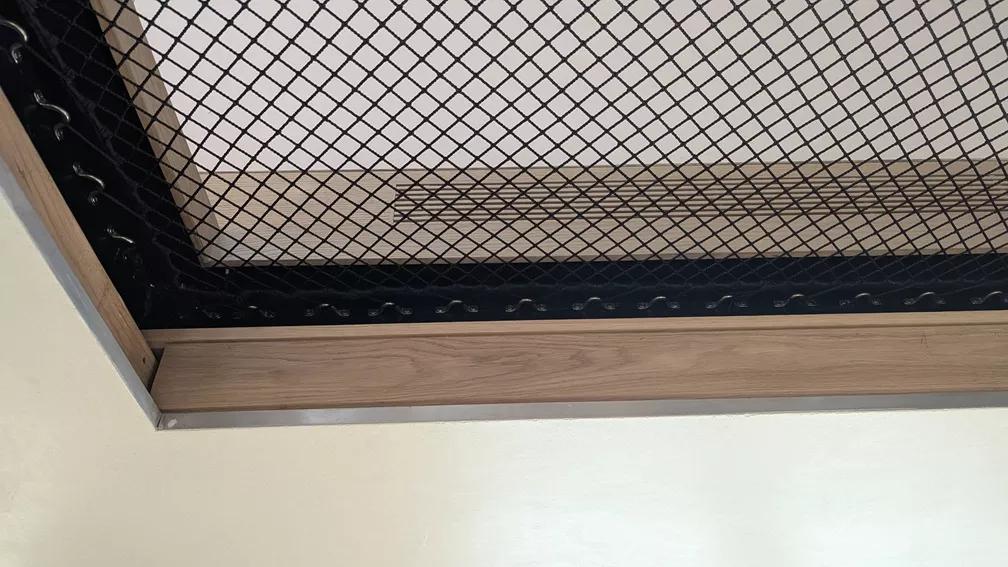
A closeup view of the underside detail which will be framed with millwork shortly. This has an overlap of about 4-1/2" to ensure a seamless net look from above.